
This lesson was released before Agents, Branching, and the CMS update on June 16, 2026. Some UI may differ, but the core concepts still apply.

Benjamin
8:07
Localize your site in Framer
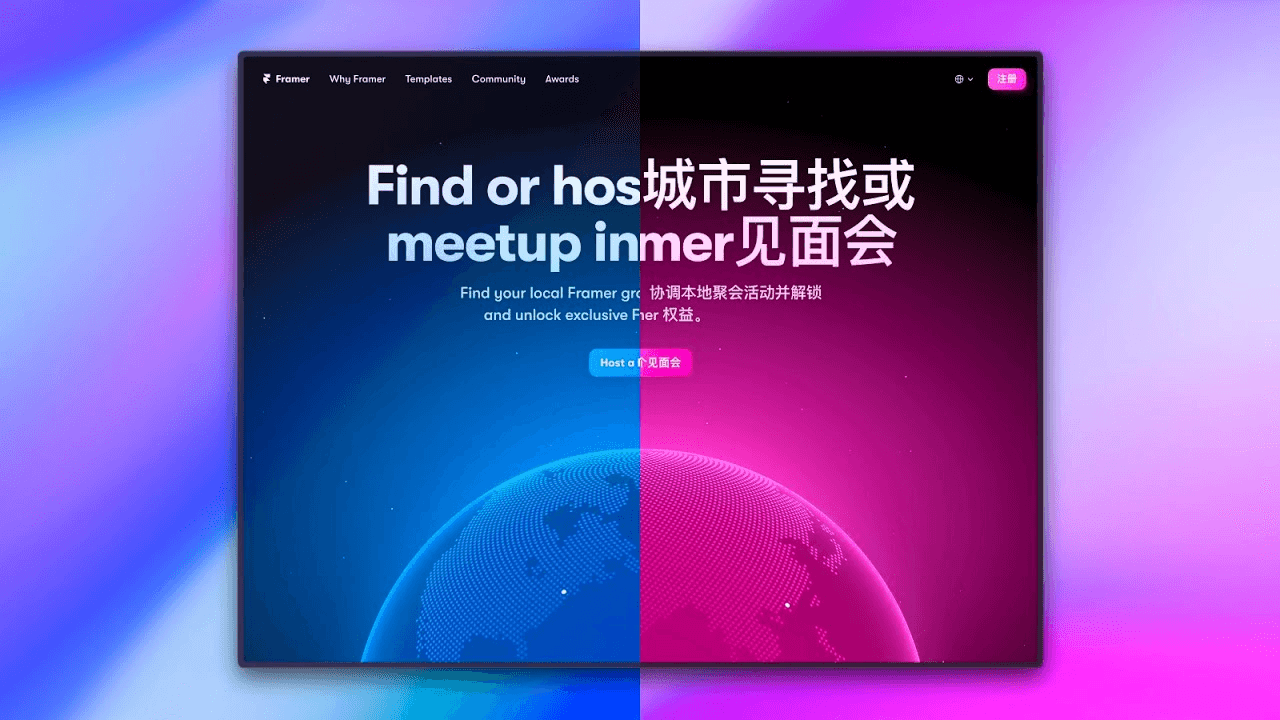
Use Localization in Framer to adapt your site for different languages and regions. Add Locales from the Localization view, choose a fallback language, and translate page text and images from one table. You can filter the table to focus on a specific page while untranslated content continues to use the selected fallback.
Lesson details
In this Framer tutorial, you will learn Get Started with Localization. We explain a practical workflow, highlight the key settings that affect the result, and show how to apply the technique on real pages for cleaner UX and better site performance.
Frequently asked questions
What is Localization in Framer?
Localization lets you create language and regional versions of your site in Framer. It collects translatable text and images in one view, so you can manage each Locale without duplicating the complete project.
How do I add a Locale in Framer?
Open the Localization view from the globe icon, choose the language or regional variant, and set a fallback language. Framer then lists the text and images that can be translated for that Locale.
What does the fallback language do?
The fallback language appears when a specific string, image, or page has not been translated. This lets visitors keep using the site while you complete the remaining localized content.
Can I translate one page at a time?
Yes. Use the filters in the Localization view to show content from a specific page. This is useful when you want to localize and review one part of your site before moving to the next.
Can different Locales use different images?
Yes. Localization includes images alongside text, so a Locale can use an image that better fits its language or region. Review both content types before publishing the localized version.
Continue watching
Load more